
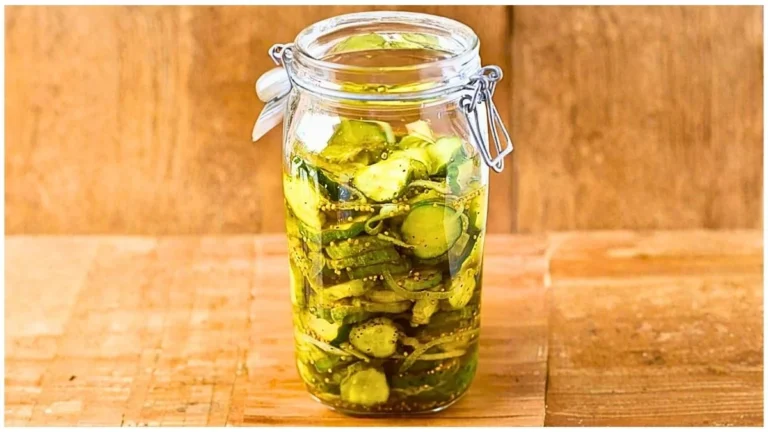

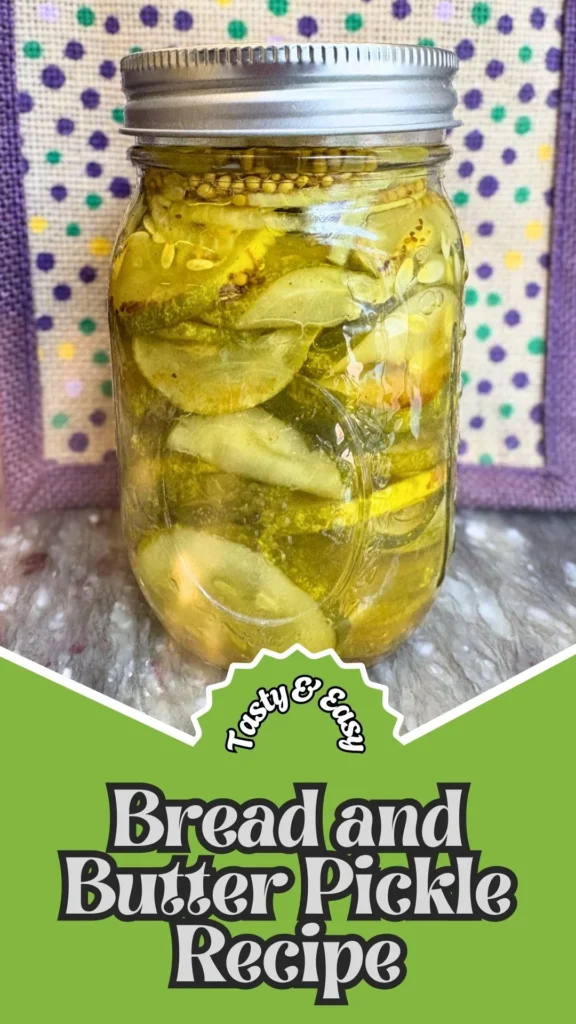
If you have ever opened a jar of homemade pickles and felt instantly transported to a summer afternoon, you already know the magic of a great bread and butter pickle recipe.
These sweet and tangy cucumber slices have earned a permanent spot in American kitchens for good reason. Unlike sharp dill pickles, bread and butter pickles strike a beautiful balance between sweetness, acidity, and warm spice.
Whether you are making a quick refrigerator bread and butter pickle recipe for weeknight burgers or preparing a bread and butter pickle recipe for canning to stock your pantry for months, this guide covers everything you need to get it right from the very first batch.
What Does Bread and Butter Pickle Taste Like?
Bread and butter pickles deliver a flavor experience that is both nostalgic and deeply satisfying. The first bite brings a gentle sweetness from the sugar, immediately followed by a bright vinegar tang that wakes up your palate.
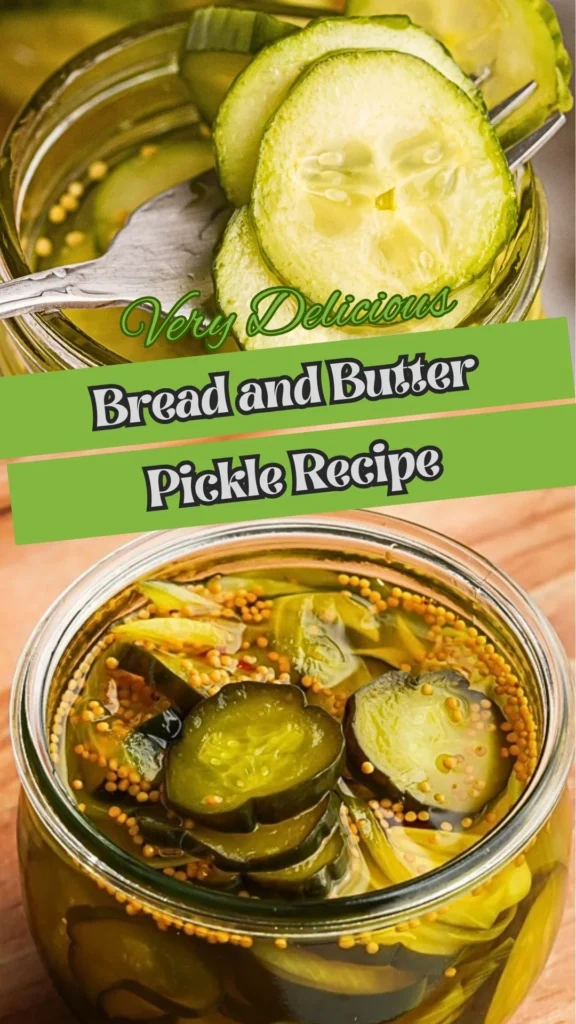
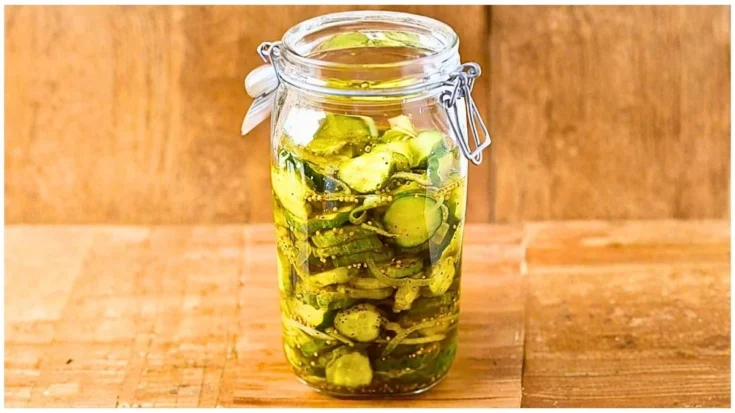
Warm undertones of mustard seed, celery seed, and turmeric add earthy, slightly floral depth, while the cucumber slices stay remarkably crisp and snappy. The thinly sliced onion softens just enough to melt into each bite without overpowering it.
A subtle heat from the Fresno chili lingers at the finish. Overall, this recipe for bread and butter pickles produces a flavor that is sweet-forward, boldly spiced, and refreshingly bright.
Bread and Butter Pickle Recipe Ingredients
For the Vegetables
- 2 pounds (900g) small pickling cucumbers (or Persian/mini cucumbers), sliced into ¼-inch rounds
- 1 medium onion, thinly sliced
- 1 red Fresno chili, thinly sliced (or 1 green bell pepper, thinly sliced for a traditional version)
- ¼ cup kosher salt (for curing)
For the Pickling Brine
- 2 cups granulated sugar
- 2 cups white distilled vinegar
- ½ cup water
- 1 tablespoon yellow mustard seeds
- 1 teaspoon celery seeds
- 1 teaspoon whole black peppercorns
- ¼ teaspoon ground cloves
- 1 teaspoon ground turmeric
- 3 garlic cloves, thinly sliced
Kitchen Utensils You Will Need
- Large mixing bowl
- Colander or strainer
- Medium saucepan
- Cutting board and sharp knife
- Mandoline slicer (optional, for uniform slices)
- Wooden spoon or silicone spatula
- Clean glass jars or airtight containers with lids
- Ladle
Preparation and Cooking Time
Prep Time: 20 minutes
Salting/Curing Time: 2 to 4 hours
Cook Time: 15 minutes
Resting Time (Refrigerator): 24 to 48 hours
Total Active Time: Approximately 35 minutes
Servings: Makes approximately 2 to 3 pint jars (about 20 to 24 servings)
How to Make Bread and Butter Pickles: Step-by-Step Instructions
Step 1: Slice the Vegetables
Wash the cucumbers thoroughly and slice them into ¼-inch thick rounds. Thinly slice the onion and the Fresno chili or bell pepper. Transfer all the sliced vegetables to a large mixing bowl.
Step 2: Salt the Cucumbers
Sprinkle the kosher salt evenly over the cucumber mixture and toss well until everything is coated. Cover the bowl and refrigerate for 2 to 4 hours, stirring once or twice during that time. The salt draws out excess moisture, which is the key to that signature crisp texture.
Step 3: Rinse and Drain
Transfer the salted vegetables to a colander and rinse thoroughly under cold running water for 3 to 4 minutes to remove excess salt. Let the vegetables drain well while you prepare the brine.
Step 4: Make the Brine
In a medium saucepan, combine the sugar, white distilled vinegar, water, mustard seeds, celery seeds, black peppercorns, ground cloves, turmeric, and sliced garlic. Stir everything together and place over medium-high heat.
Step 5: Simmer the Brine
Bring the mixture to a gentle simmer, stirring occasionally until the sugar has completely dissolved. Once simmering, let it cook for 2 minutes so the spices fully infuse the brine.
Step 6: Add the Vegetables
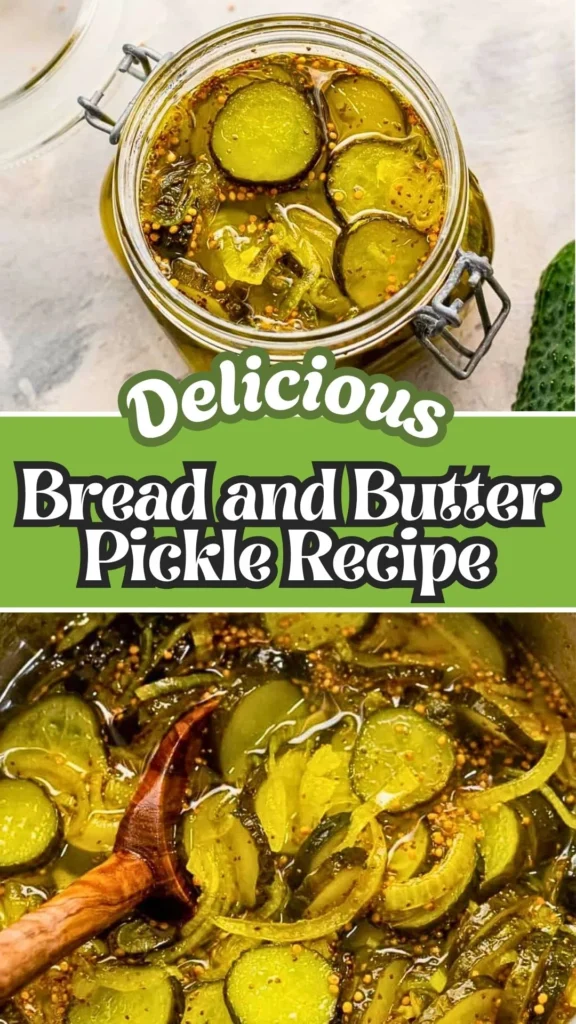
Carefully add the drained cucumber mixture to the hot brine and stir gently so every slice is fully coated and surrounded by the spiced liquid.
Step 7: Heat Without Boiling
Continue heating until the brine is just about to return to a simmer. The moment you see small bubbles forming around the edges of the pan, remove it from the heat immediately. Avoiding a full boil is what keeps your pickles crunchy rather than soft.
Step 8: Cool the Pickles
Allow the pickles to cool completely at room temperature. As they cool, the turmeric blooms beautifully and gives the pickles their classic bright golden-yellow color.
Step 9: Jar and Refrigerate
Transfer the cooled pickles and all of the brine into clean glass jars or airtight containers. Seal tightly and refrigerate for at least 24 to 48 hours before serving. The flavor deepens significantly as they rest.
Step 10: Store or Can
Keep your bread and butter pickles refrigerated for up to 2 months. For longer preservation, use a hot water bath canning method following safe, tested canning guidelines to make a shelf-stable bread and butter pickle recipe for canning.
Customization and Serving Ideas for Bread and Butter Pickles
One of the best things about this recipe for bread and butter pickles is how flexible it is. Once you master the base, you can easily adjust it to suit your taste, dietary preferences, or whatever is growing in your garden.
1. Make It Spicier
If you enjoy heat, swap the Fresno chili for a thinly sliced jalapeño or add ½ teaspoon of crushed red pepper flakes directly into the brine. The spice infuses gradually, creating a sweet-heat combination that pairs beautifully with grilled meats and smoked dishes.
2. Try a No-Sugar Version
For a lower-glycemic option, replace the granulated sugar with an equal amount of monk fruit sweetener or a blend of erythritol and a small amount of pure maple syrup. The brine will still be flavorful, tangy, and aromatic without the sugar spike.
3. Add Different Vegetables
Cucumbers are classic, but this brine works wonderfully with thinly sliced zucchini, green tomatoes, banana peppers, or even cauliflower florets. A mixed vegetable jar makes a beautiful and colorful addition to any charcuterie board.
4. Use Apple Cider Vinegar
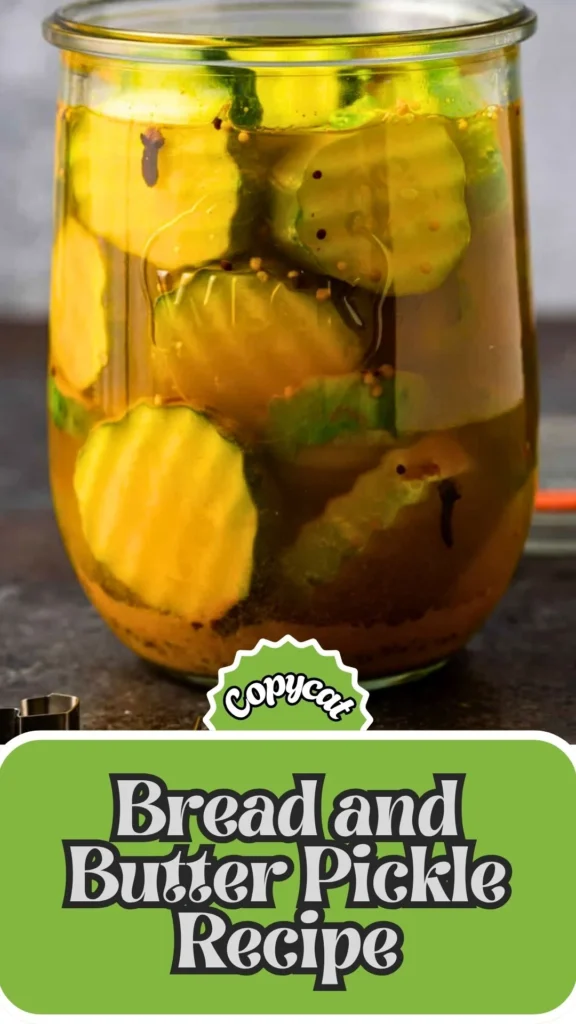
Swapping white distilled vinegar for raw apple cider vinegar adds a slightly fruity, mellow tang and a touch of natural depth. It works particularly well if you prefer a less sharp, more rounded pickle flavor.
5. Serve on Burgers and Sandwiches
The most iconic use of bread and butter pickles is layered onto a classic cheeseburger or a pulled pork sandwich. Their sweetness cuts through the richness of the meat and adds a bright, acidic contrast that elevates every bite.
6. Pair With a Cheese Board
Arrange your pickles alongside sharp cheddar, aged gouda, cream cheese, and artisan crackers for an elegant appetizer spread. The tangy-sweet flavor of these pickles complements bold cheeses exceptionally well.
7. Use as a Topping or Condiment
Chop the pickles finely and fold them into homemade tartar sauce, egg salad, potato salad, or deviled eggs. They add crunch, brightness, and a pop of flavor that transforms simple everyday dishes into something memorable.
Tips for the Best Bread and Butter Pickles Recipe
Getting the details right makes a real difference when making your own bread and butter pickle recipe. These practical tips will help you achieve consistently crisp, flavorful results every single time.
1. Choose the Right Cucumbers
Always use small pickling cucumbers or Persian cucumbers for the best texture. Regular slicing cucumbers have a higher water content and thicker seeds, which can result in softer, less satisfying pickles. Kirby cucumbers are another excellent choice widely available at farmers markets.
2. Do Not Skip the Salting Step
Salting the cucumbers before brining is not optional – it is essential. The salt draws out excess water trapped inside the cucumber cells. This pre-dehydration step is what allows the brine to absorb properly and what gives each slice that firm, satisfying snap.
3. Rinse Thoroughly
After the curing period, rinse the vegetables under cold running water for a full 3 to 4 minutes. Insufficient rinsing leaves behind too much salt, which throws off the carefully balanced sweet-tangy flavor profile of the finished pickle.
4. Never Fully Boil the Cucumbers
Once you add the cucumbers to the hot brine, watch the pan closely. Remove it from the heat the moment you see bubbles forming at the edges. Boiling the cucumbers even briefly will cause them to become soft and mushy rather than crisp and snappy.
5. Let Them Rest Before Eating
Patience is genuinely rewarded here. While the pickles are technically edible once chilled, waiting the full 24 to 48 hours allows the spices, garlic, and brine to fully penetrate each slice. The flavor at 48 hours is dramatically richer and more complex than at hour one.
6. Considering the Mrs. Wages Shortcut
If you are short on time, Mrs. Wages bread and butter pickle mix is a reliable shortcut that many home canners trust. It delivers consistent results using a pre-blended spice packet. Simply follow the package directions, add your sliced cucumbers and onions, and proceed with either refrigerator storage or hot water bath canning.
7. Use the Hot Water Bath Method for Shelf-Stable Jars
If you are making a bread and butter pickle recipe for canning, always follow a tested, safe canning process. Use sterilized jars and lids, leave the appropriate headspace, and process the jars in a boiling water bath for the time recommended for your altitude. Never guess with canning safety.
Storage and Reheating Guidance
Store bread and butter pickles in sealed glass jars in the refrigerator for up to 2 months. For shelf-stable storage, process using a hot water bath canning method. These pickles are always served cold and do not require reheating.
Bread and Butter Pickle Recipe
If you have ever opened a jar of homemade pickles and felt instantly transported to a summer afternoon, you already know the magic of a great bread and butter pickle recipe.
Ingredients
- 2 pounds (900g) small pickling cucumbers
- 1 medium onion, thinly sliced
- 1 red Fresno chili
- ¼ cup kosher salt
- 2 cups granulated sugar
- 2 cups white distilled vinegar
- ½ cup water
- 1 tablespoon yellow mustard seeds
- 1 teaspoon celery seeds
- 1 teaspoon whole black peppercorns
- ¼ teaspoon ground cloves
- 1 teaspoon ground turmeric
- 3 garlic cloves
Instructions
Step 1: Slice the Vegetables
Wash the cucumbers thoroughly and slice them into ¼-inch thick rounds. Thinly slice the onion and the Fresno chili or bell pepper. Transfer all the sliced vegetables to a large mixing bowl.
Step 2: Salt the Cucumbers
Sprinkle the kosher salt evenly over the cucumber mixture and toss well until everything is coated. Cover the bowl and refrigerate for 2 to 4 hours, stirring once or twice during that time. The salt draws out excess moisture, which is the key to that signature crisp texture.
Step 3: Rinse and Drain
Transfer the salted vegetables to a colander and rinse thoroughly under cold running water for 3 to 4 minutes to remove excess salt. Let the vegetables drain well while you prepare the brine.
Step 4: Make the Brine
In a medium saucepan, combine the sugar, white distilled vinegar, water, mustard seeds, celery seeds, black peppercorns, ground cloves, turmeric, and sliced garlic. Stir everything together and place over medium-high heat.
Step 5: Simmer the Brine
Bring the mixture to a gentle simmer, stirring occasionally until the sugar has completely dissolved. Once simmering, let it cook for 2 minutes so the spices fully infuse the brine.
Step 6: Add the Vegetables
Carefully add the drained cucumber mixture to the hot brine and stir gently so every slice is fully coated and surrounded by the spiced liquid.
Step 7: Heat Without Boiling
Continue heating until the brine is just about to return to a simmer. The moment you see small bubbles forming around the edges of the pan, remove it from the heat immediately. Avoiding a full boil is what keeps your pickles crunchy rather than soft.
Step 8: Cool the Pickles
Allow the pickles to cool completely at room temperature. As they cool, the turmeric blooms beautifully and gives the pickles their classic bright golden-yellow color.
Step 9: Jar and Refrigerate
Transfer the cooled pickles and all of the brine into clean glass jars or airtight containers. Seal tightly and refrigerate for at least 24 to 48 hours before serving. The flavor deepens significantly as they rest.
Step 10: Store or Can
Keep your bread and butter pickles refrigerated for up to 2 months. For longer preservation, use a hot water bath canning method following safe, tested canning guidelines to make a shelf-stable bread and butter pickle recipe for canning.
Notes
Store bread and butter pickles in sealed glass jars in the refrigerator for up to 2 months. For shelf-stable storage, process using a hot water bath canning method. These pickles are always served cold and do not require reheating.
Nutrition Information:
Yield:
20Serving Size:
1Amount Per Serving: Calories: 135
Frequently Asked Questions
When you give this Bread and Butter Pickle Recipe a try, you might have a few questions. Don’t worry-we’ve rounded up answers to the most common ones to help you out.
What are bread and butter pickles?
Bread and butter pickles are sweet and tangy cucumber pickles made with a spiced vinegar-sugar brine. They are milder and sweeter than dill pickles and are named for their long association with simple, everyday meals – the kind eaten with bread and butter.
Why are they called bread and butter pickles?
The most widely accepted origin story traces the name to Omar and Cora Fanning, Illinois farmers who bartered jars of their sweet cucumber pickles for bread and butter staples during the 1920s. They later trademarked the name “Fanning’s Bread and Butter Pickles” in 1923.
What is the difference between a refrigerator bread and butter pickle recipe and a canning recipe?
A refrigerator bread and butter pickle recipe skips the hot water bath canning process entirely. The pickles are simply cooled, jarred, and stored in the refrigerator, making them ideal for quick, small-batch preparation. A bread and butter pickle recipe for canning involves processing sealed jars in a boiling water bath to create a shelf-stable product that can be stored at room temperature for up to a year.
Can I use Mrs. Wages bread and butter pickle mix instead of making the brine from scratch?
Absolutely. Mrs. Wages bread and butter pickle mix is a convenient pre-measured spice blend that simplifies the process significantly. It is a trusted option for both beginner and experienced home canners who want consistent, reliable results without measuring individual spices.
How long do homemade bread and butter pickles last?
Refrigerator bread and butter pickles stay fresh and crisp for up to 2 months when stored in a sealed glass jar. Properly canned jars processed in a hot water bath can last up to 12 to 18 months when kept in a cool, dark pantry.
Can I make bread and butter pickles without sugar?
Yes. You can substitute granulated sugar with monk fruit sweetener, erythritol, or another granulated sugar alternative in an equal ratio. Keep in mind that the sweetness level and flavor profile may vary slightly depending on the sweetener you choose.
Do bread and butter pickles need to be refrigerated?
Refrigerator-style bread and butter pickles must always be kept refrigerated and are not shelf-stable. However, if you follow a proper bread and butter pickle recipe for canning using a hot water bath method, sealed jars can be safely stored at room temperature until opened.
Why are my bread and butter pickles soft instead of crunchy?
Soft pickles are almost always the result of one of three things: skipping the salting step, using slicing cucumbers instead of pickling cucumbers, or allowing the cucumbers to reach a full boil in the brine. Following each step carefully, especially the salt-cure and the no-boil rule, will give you consistently crisp results.
This bread and butter pickle recipe is one of those timeless kitchen projects that rewards you far beyond the effort it requires. Whether you are filling a few jars for the refrigerator or processing a full batch using a bread and butter pickle recipe for canning, the result is always the same – golden, crisp, sweet-tangy slices that make everything taste better.
Keep a jar in the fridge, share one with a neighbor, or reach for the Mrs. Wages bread and butter pickle mix when you need a reliable shortcut. However you make them, homemade bread and butter pickles are always worth it.
We’d love to hear how this recipe turns out for you! Give it a try, then drop a comment below to share your thoughts and tips with us.
You can also follow us on Pinterest and YouTube for more delicious updates and kitchen inspiration. Your support and feedback truly mean a lot to us!