Seedless Blackberry Jam Recipe
If you’ve ever bitten into a piece of toast only to hit a crunchy seed, you already know why this seedless blackberry jam recipe is worth making from scratch.
This homemade jam with pectin delivers everything you love about blackberries – deep, jammy flavor, gorgeous color, and natural sweetness – without a single seed getting in the way.
Made with fresh blackberry juice, granulated sugar, and a touch of lemon, this seedless blackberry jam spreads like silk and sets beautifully every time.
Whether you’re a first-time jam maker or a seasoned home canner, this straightforward recipe gives you bakery-quality results right from your own kitchen.
What Does Seedless Blackberry Jam Taste Like?
This seedless blackberry jam tastes intensely fruity, rich, and deeply sweet with a pleasant natural tartness underneath.
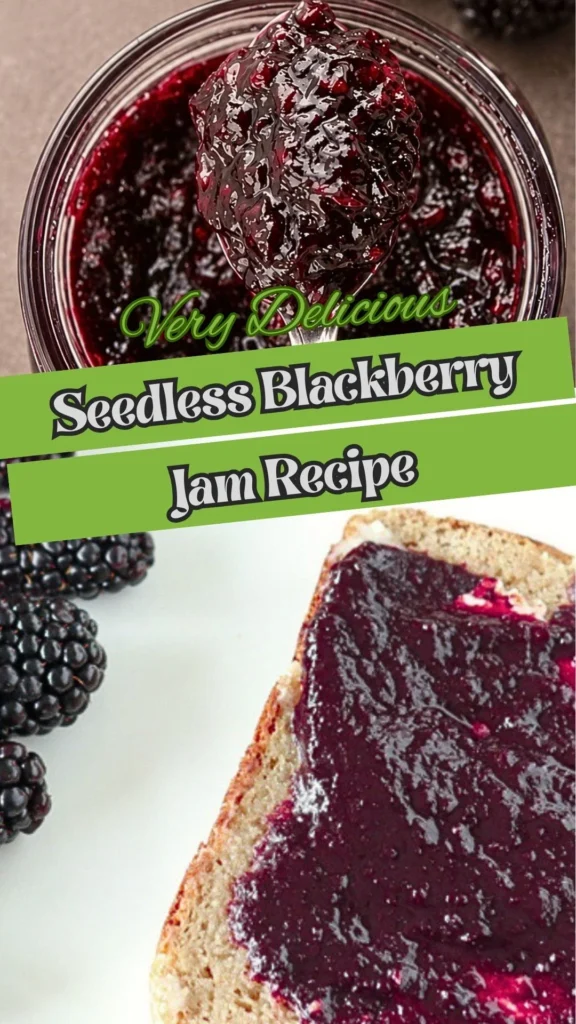
Because the seeds are fully removed through double-straining, every spoonful has a silky-smooth texture that melts on your tongue.
The lemon extract brightens the berry flavor without overpowering it, while the citric acid adds a subtle tang that balances the sweetness perfectly.
Think of it as the purest expression of blackberry flavor – concentrated, glossy, and luscious.
It’s bolder and more complex than store-bought jam, with a homemade warmth that commercial versions simply can’t replicate.
Seedless Blackberry Jam Recipe Ingredients
- 5 cups fresh blackberry juice (from mashed and double-strained blackberries)
- 5 cups granulated sugar
- 2½ tablespoons lemon extract (or fresh lemon juice, to taste)
- ⅛ teaspoon salt
- ¼ teaspoon citric acid
- ¼ teaspoon butter (optional, to reduce foam)
Kitchen Utensils You’ll Need
- Large mixing bowl
- Potato masher
- Coarse strainer or colander
- Fine mesh metal sieve
- Large heavy-bottomed saucepan
- Wooden spoon or heat-resistant spatula
- Ladle
- Measuring cups and spoons
- Clean jam jars with lids and bands
- Air fryer or oven (for sterilising jars)
- Small cool plate (for the set test)
Preparation & Cooking Time
Prep Time: 25 minutes
Cook Time: 25–30 minutes
Setting Time: 24 hours
Total Time: Approximately 1 hour (active), plus overnight setting
Yield: Approximately 4–5 half-pint jars
How to Make Seedless Blackberry Jam – Step-by-Step Instructions
Step 1: Wash the Blackberries
Rinse your fresh blackberries under cold running water. Let them soak for about 5 minutes, then drain well. Remove any leaves, stems, floating berries, or debris before moving on.
Step 2: Mash the Blackberries
Place the washed blackberries into a large bowl. Use a potato masher to crush them thoroughly until they release plenty of deep purple juice. The more you mash, the more juice you’ll extract.
Step 3: Remove the Seeds (Double-Straining Method)
Press the mashed berries through a coarse strainer to separate the seeds from the juice and pulp. Then pass the juice through a fine metal sieve a second time to catch any remaining tiny seeds. This double-straining step is what gives your seedless blackberry jam its signature smooth, silky texture.
Step 4: Sterilise the Jars
Place your clean glass jars (without lids) in an air fryer or oven at 220°F (105°C) for about 8 minutes. Keep them warm until you’re ready to fill. Warm jars prevent cracking when the hot jam is poured in.
Step 5: Measure the Blackberry Juice
Measure out exactly 5 cups of your strained blackberry juice. This recipe follows a 1:1 juice-to-sugar ratio, so accurate measuring here ensures a proper set.
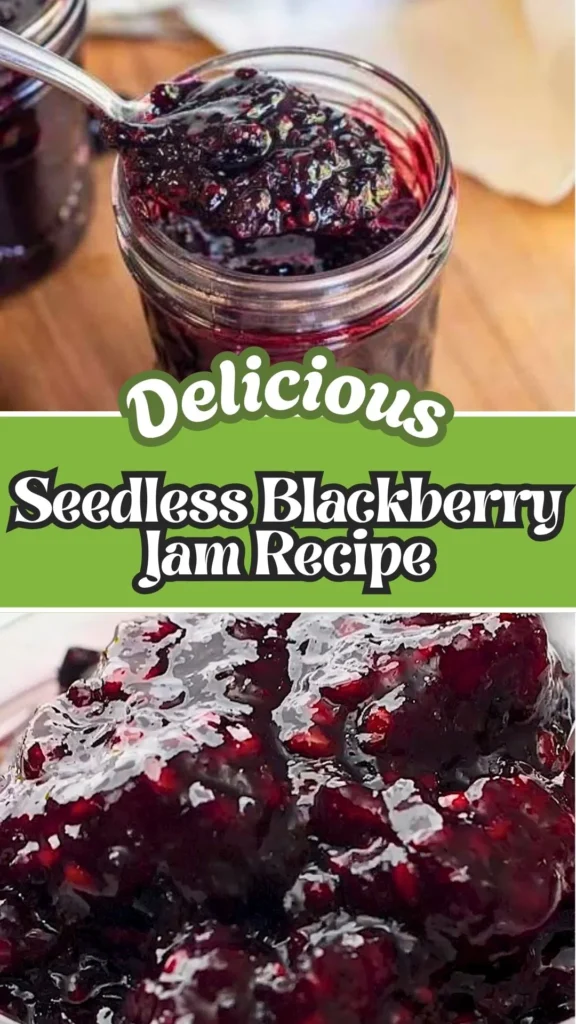
Step 6: Combine the Ingredients
Pour the blackberry juice into a large saucepan. Add the granulated sugar, lemon extract, salt, and citric acid. Stir well over medium-high heat until the sugar dissolves completely before the mixture comes to a boil.
Step 7: Bring to a Rolling Boil
Increase the heat and bring the jam to a full rolling boil – one that cannot be stirred down. Use a large saucepan because the jam foams up significantly as it boils. Stir occasionally to prevent the bottom from scorching.
Step 8: Reduce the Foam
Once the jam thickens and reaches a vigorous boil, remove it from the heat. Stir in the optional butter to reduce surface foam. This gives you a clearer, more visually appealing finished jam.
Step 9: Check the Consistency
Drop a small spoonful of jam onto a cool plate and wait one to two minutes. If it thickens, holds its shape, and doesn’t run freely, it’s ready. If it’s still too loose, return to the heat and boil for another two to three minutes before testing again.
Step 10: Fill the Jars
Carefully ladle the hot jam into your warm, sterilised jars, leaving about ¼ inch of headspace at the top. Wipe the jar rims clean with a damp cloth, secure the lids, and tighten the bands firmly.
Step 11: Let the Jam Set
Leave the filled jars to cool completely, undisturbed, at room temperature for a full 24 hours. The jam continues to set and firm up during this resting period. Once sealed jars have cooled, store them in a cool, dark pantry or cupboard.
Customization & Serving Ideas for Seedless Blackberry Jam
One of the best things about making your own seedless blackberry jam is how easy it is to personalize. Here are seven creative ways to customize and serve it:
1. Make It a Sugar-Free Version
For a sugar free seedless blackberry jam recipe, swap granulated sugar with a low-glycemic alternative like monk fruit sweetener or erythritol. You may need to add a low-sugar or no-sugar pectin to help it set properly, since regular sugar also acts as a thickening and preserving agent.
2. Add a Spice Layer
Stir in a pinch of cinnamon, a scrape of fresh vanilla bean, or a tiny pinch of ground cardamom during the cooking stage. These warm spices complement the deep berry flavor beautifully and make the jam feel more complex and artisanal.
3. Make a Blackberry-Lemon Zest Jam
Add a teaspoon of fresh lemon zest alongside your lemon extract for a bright, citrus-forward variation. The zest adds an aromatic dimension that pairs especially well with scones and plain Greek yogurt.
4. Use It as a Cake or Pastry Filling
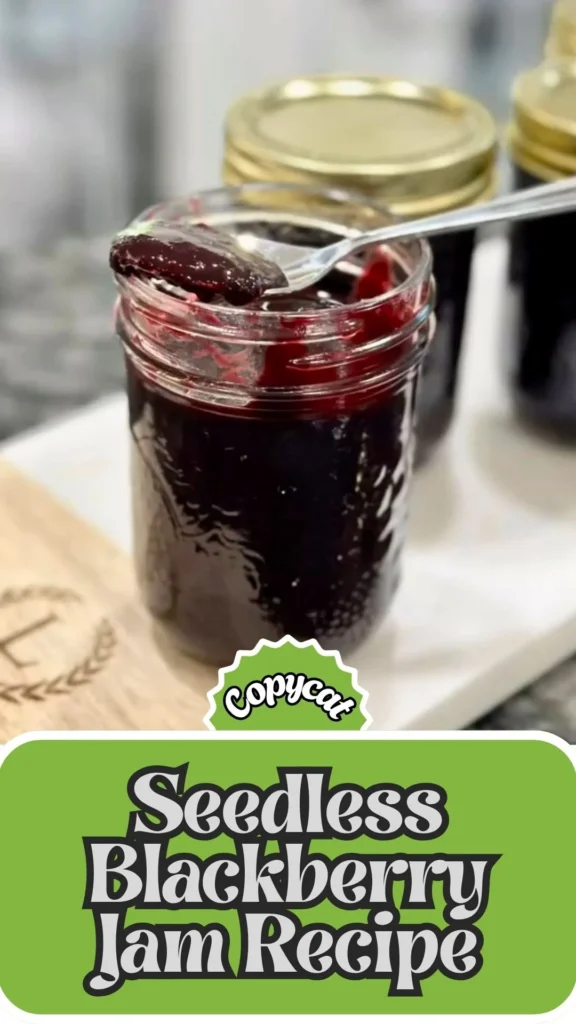
This smooth, seedless jam is perfect for spreading between cake layers, filling thumbprint cookies, swirling into cheesecake batter, or dolloping inside homemade croissants. Its thick, glossy texture holds its shape beautifully without leaking.
5. Pair It with a Cheese Board
Serve your seedless blackberry jam alongside a mix of soft and aged cheeses – brie, camembert, sharp cheddar, or goat cheese all pair exceptionally well with the jam’s sweet-tart profile. Add some crackers, walnuts, and fresh herbs for a stunning appetizer board.
6. Swirl It Into Breakfast Staples
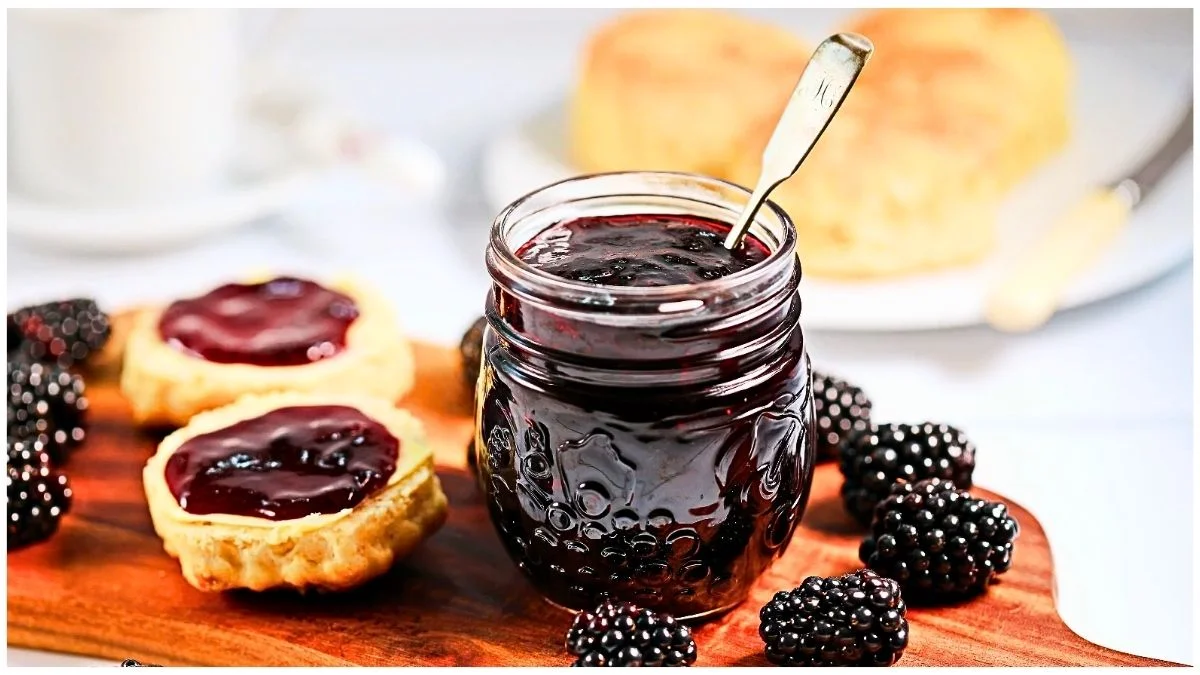
Beyond toast, this jam works wonderfully stirred into oatmeal, layered in parfaits, drizzled over pancakes or French toast, or mixed into plain yogurt for a naturally fruity breakfast bowl.
7. Gift It in Pretty Jars
Homemade seedless blackberry jam in a labeled jar makes a thoughtful, personal gift for neighbors, teachers, or holiday gatherings. Tie a small ribbon around the lid and include a handwritten note for a charming homemade touch.
Expert Tips for the Best Seedless Blackberry Jam Recipe
Getting jam right is as much about technique as it is about ingredients. These seven tips will help you nail this recipe for seedless blackberry jam every single time:
1. Always Start With Ripe, Fresh Blackberries
The quality of your fruit directly determines the quality of your jam. Ripe blackberries yield more juice, carry more natural pectin, and deliver a deeper, sweeter flavor. Avoid underripe berries, which can make the jam taste sharp, and overripe ones, which may affect the set.
2. Don’t Skip the Double-Straining Step
Running the mashed berries through both a coarse strainer and a fine sieve is the non-negotiable step that makes this a truly seedless jam. Cutting this short leaves seeds or gritty pulp behind, which defeats the entire purpose of this seedless blackberry jam recipe.
3. Use a Large Enough Saucepan
Jam foams dramatically when it reaches a boil. A saucepan that’s too small will overflow and create a dangerous mess on your stovetop. Use a pot at least three to four times the volume of your jam mixture.
4. Never Skip the Plate Test
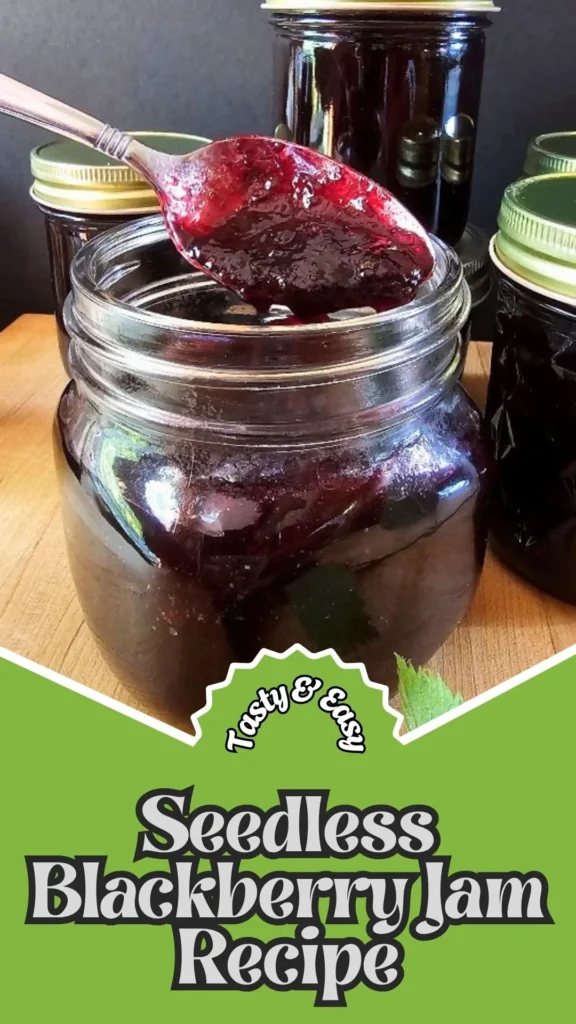
The cold plate test is the most reliable way to check your jam’s consistency without any special equipment. Keep a couple of small plates in your freezer throughout the cooking process so you can test quickly and accurately.
5. Sterilise Jars Just Before Filling
Don’t sterilise your jars too far in advance. Warm jars fresh from the oven or air fryer reduce the thermal shock when hot jam is ladled in. Cold jars can crack and compromise your seal.
6. Measure Accurately for a Reliable Set
This seedless blackberry jam recipe uses a 1:1 juice-to-sugar ratio, and that balance matters. Too little sugar affects setting and preservation. Too much can make the jam overly sweet and crystallized over time. Use a proper measuring cup and level it off.
7. Add the Butter at the Right Moment
The optional butter is most effective when added just after you remove the jam from heat, not during boiling. Adding it too early can cause it to cook away without reducing foam. A small ¼ teaspoon is all it takes to clear the surface and give your jam that clean, glossy look.
Storage and Reheating Guidance
Store sealed, unopen jars in a cool, dark pantry for up to 12 months. Once opened, refrigerate and use within 3–4 weeks. This jam does not require reheating – serve straight from the jar at room temperature for the best spreading consistency.
Ingredients
Method
- Rinse your fresh blackberries under cold running water. Let them soak for about 5 minutes, then drain well. Remove any leaves, stems, floating berries, or debris before moving on.
- Place the washed blackberries into a large bowl. Use a potato masher to crush them thoroughly until they release plenty of deep purple juice. The more you mash, the more juice you’ll extract.
- Press the mashed berries through a coarse strainer to separate the seeds from the juice and pulp. Then pass the juice through a fine metal sieve a second time to catch any remaining tiny seeds. This double-straining step is what gives your seedless blackberry jam its signature smooth, silky texture.
- Place your clean glass jars (without lids) in an air fryer or oven at 220°F (105°C) for about 8 minutes. Keep them warm until you’re ready to fill. Warm jars prevent cracking when the hot jam is poured in.
- Measure out exactly 5 cups of your strained blackberry juice. This recipe follows a 1:1 juice-to-sugar ratio, so accurate measuring here ensures a proper set.
- Pour the blackberry juice into a large saucepan. Add the granulated sugar, lemon extract, salt, and citric acid. Stir well over medium-high heat until the sugar dissolves completely before the mixture comes to a boil.
- Increase the heat and bring the jam to a full rolling boil – one that cannot be stirred down. Use a large saucepan because the jam foams up significantly as it boils. Stir occasionally to prevent the bottom from scorching.
- Once the jam thickens and reaches a vigorous boil, remove it from the heat. Stir in the optional butter to reduce surface foam. This gives you a clearer, more visually appealing finished jam.
- Drop a small spoonful of jam onto a cool plate and wait one to two minutes. If it thickens, holds its shape, and doesn’t run freely, it’s ready. If it’s still too loose, return to the heat and boil for another two to three minutes before testing again.
- Carefully ladle the hot jam into your warm, sterilised jars, leaving about ¼ inch of headspace at the top. Wipe the jar rims clean with a damp cloth, secure the lids, and tighten the bands firmly.
- Leave the filled jars to cool completely, undisturbed, at room temperature for a full 24 hours. The jam continues to set and firm up during this resting period. Once sealed jars have cooled, store them in a cool, dark pantry or cupboard.
Video
Notes
Frequently Asked Questions
When you give this Seedless Blackberry Jam Recipe a try, you might have a few questions. Don’t worry-we’ve rounded up answers to the most common ones to help you out.
What is the best way to remove seeds from blackberry jam?
The most effective method is double-straining – first pressing the mashed blackberries through a coarse strainer, then passing the juice through a fine mesh metal sieve. This two-step process removes virtually all seeds and produces a completely smooth jam.
Can I make seedless blackberry jam without pectin?
Yes, absolutely. This seedless blackberry jam recipe does not use commercial pectin. The natural pectin found in blackberries, combined with the lemon extract and citric acid, provides enough gelling power to set the jam properly when cooked to the right temperature and consistency.
Can I use frozen blackberries instead of fresh?
Yes, frozen blackberries work well. Thaw them completely first and drain off any excess water before mashing. Keep in mind that frozen berries tend to release more liquid, so you may need to cook the jam slightly longer to reach the right set.
How do I make a sugar free seedless blackberry jam?
To make a sugar free seedless blackberry jam recipe, replace the granulated sugar with a sugar substitute like monk fruit sweetener or a no-sugar pectin blend designed for low-sugar jam making. The cooking time may vary, so always use the plate test to confirm your set.
How do I know when the jam has reached the setting point?
Perform the cold plate test – drop a small spoonful of jam onto a chilled plate. After one to two minutes, push it gently with your finger. If it wrinkles and holds its shape rather than running, it has reached the setting point.
Why did my blackberry jam not set properly?
The most common reasons are undercooking, inaccurate measurement of juice or sugar, or too much liquid in the juice. If your jam is too runny after 24 hours, you can reprocess it – return it to the saucepan, bring it back to a boil, and cook it a little longer before re-jarring.
How long does homemade seedless blackberry jam last?
Properly sealed jars stored in a cool, dark location last up to 12 months. Once a jar is opened and refrigerated, the jam stays fresh for 3 to 4 weeks.
Can I double this seedless blackberry jam recipe?
It’s best to make one batch at a time. Doubling the quantity increases cooking time unpredictably and can affect the gel. If you want more jam, simply run two separate batches.
This seedless blackberry jam recipe is proof that homemade jam doesn’t have to be complicated to be exceptional. With just a handful of simple ingredients, a double-straining technique, and a little patience, you’ll end up with jars full of smooth, glossy, intensely flavored blackberry jam that no store-bought version can match.
Whether you spread it on morning toast, fill pastries with it, or gift it to someone special, this seedless blackberry jam is a recipe you’ll return to every blackberry season without question. Make a batch, and taste the difference for yourself.
We’d love to hear how this recipe turns out for you! Give it a try, then drop a comment below to share your thoughts and tips with us.
You can also follow us on Pinterest and YouTube for more delicious updates and kitchen inspiration. Your support and feedback truly mean a lot to us!